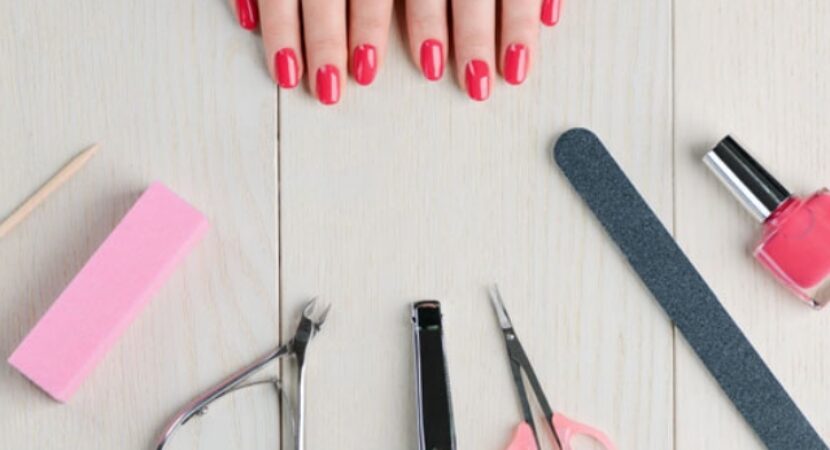
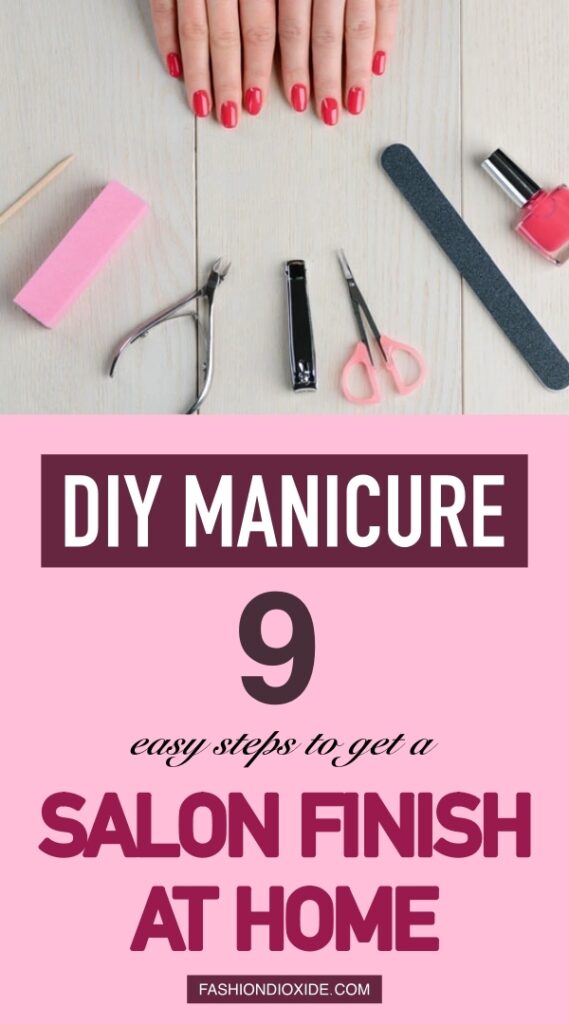
If you’re on a budget or can’t go to the salon for whatever reason, it’s never too late to learn how to care for your nails like a pro. Give yourself a well-deserved pampering session with these easy steps – and best of all, you can do it from the comfort of your own home!
1. Prepare Your Nails

Take care to remove any existing nail polish with a good-quality (preferably acetone-free) nail polish remover – even if you don’t have nail polish on, wipe every nail to remove any oils or dirt.
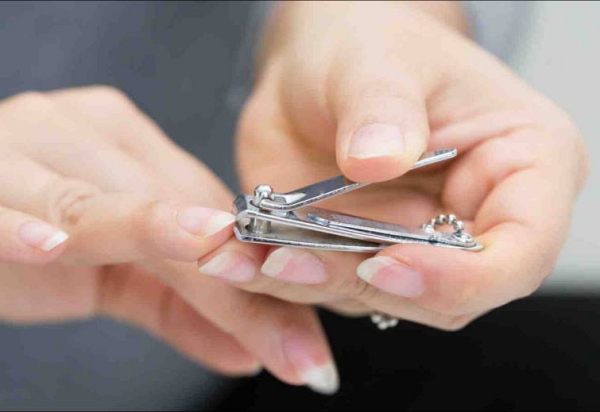
2. Shape, Clip, and Buff
Trim your nails to the desired length with sharp, sanitized clippers. If you’re also painting your toenails, you can use professional side cutting nail clippers to trim them – this will help prevent ingrown nails. Remove any dirt and grime from underneath your nails.
File your nails with an emery board by gently working from the outside, moving only in one direction. Then, lightly buff the surface of your nails with a nail buffer – this will remove some of the natural oils and ridges, which will make the nail polish adhere to your nails better.
3. Take Care of Your Cuticles
Apply cuticle remover to your cuticles – but make sure you’re using a cuticle remover, not a balm or oil. Cuticle oils moisturize your cuticles, while cuticle remover dissolves dead skin and makes cuticles softer. Gently push your cuticles back with a cuticle stick.
4. Exfoliate

Use a moisturizing scrub with natural exfoliating beads to remove dead skin cells and moisturize your skin. Scrub your hands, wrists, and forearms (and your feet and ankles if you’re giving yourself a pedicure as well). Remove any grime from underneath your nails once more, and wash and dry your hands thoroughly.
5. Moisturize
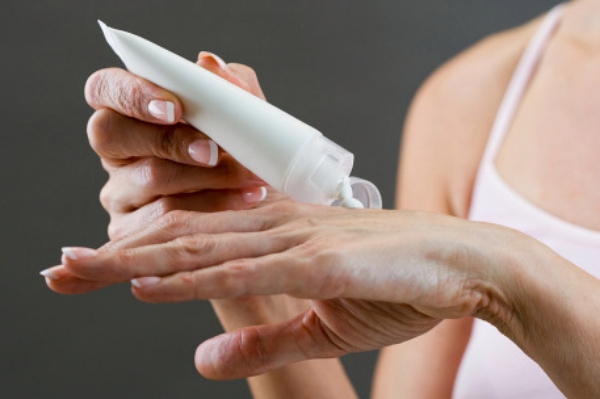
Apply a good moisturizer or nourishing oil to your hands now so that you won’t have to do it later and potentially smudge your drying nail polish. Moisturizers with natural oils are the best for your hands and nails, so choose a moisturizer with argon, avocado, or almond oil. Then, give your nails a once-over with nail polish remover to remove any additional residue.
6. Apply the Base Coat
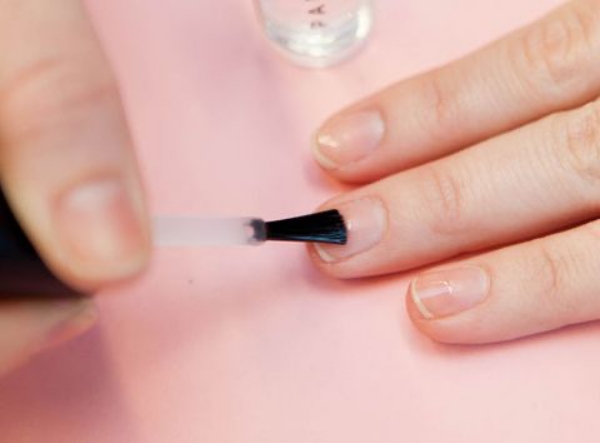
It is crucial to apply a base coat to prevent chipping and to ensure a perfectly smooth finish. Like the subsequent layers of nail polish, it’s important to allow the base coat to dry for two full minutes before applying the other layers.
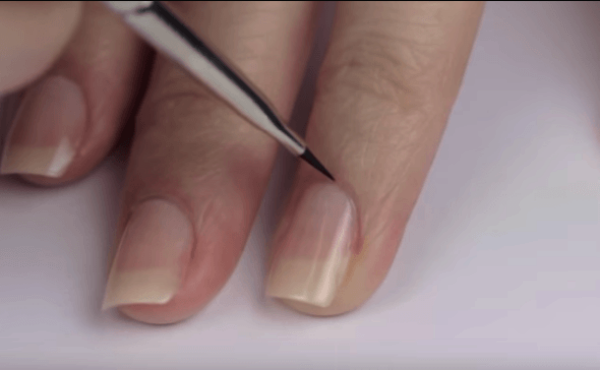
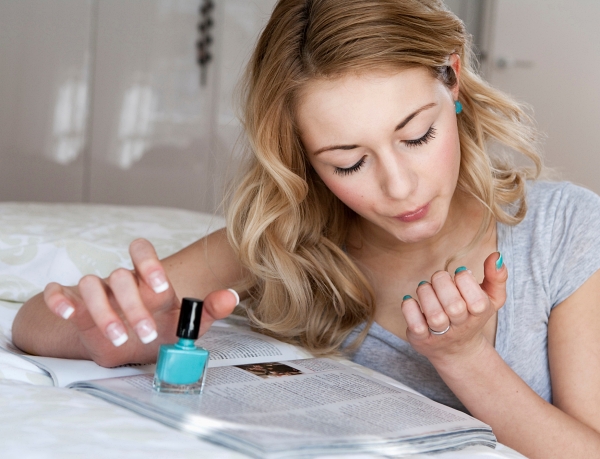
7. Applying Color
Now it’s time to take the plunge and apply the color of your choice. When you begin painting the color on, make sure that you cover the cuticle and the corners of your nails – but try to keep this first layer thin.
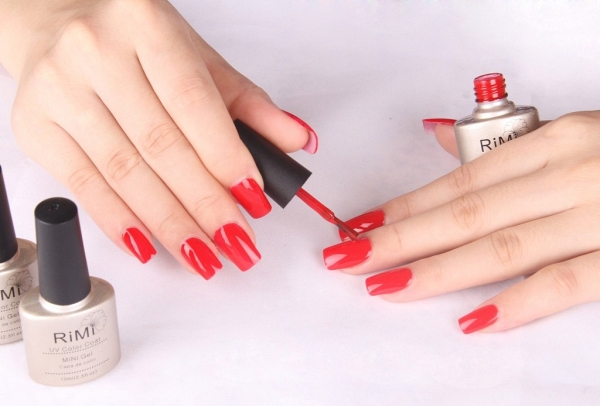
Try to use as few strokes as possible. Wait two full minutes for the polish to dry before adding the second and third layers. Keep the layers thin and avoid painting the polish on thickly – thick layers of polish are more susceptible to chips and imprints.
8. Apply the Top Coat
Do not skip this step – the final clear topcoat protects your nails from chipping and adds a beautiful, shiny finish. Be careful when you apply the topcoat because it can ruin your whole manicure if it’s messy.
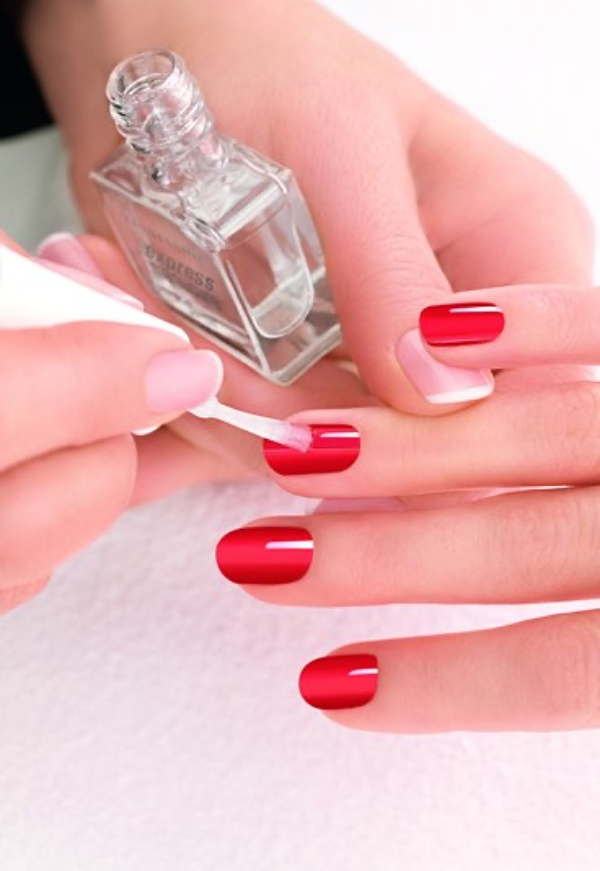
9. Finishing Touches
Dip a piece of cotton in nail polish remover and carefully clean the skin around your nails to remove any nail polish smudges or drips. Let your nails dry fully for another five minutes.
Reply